 Spring is a beautiful time of year, there are flowers blooming all around us and leaves popping out left and right. The only bad thing about this is that spring doesn’t last forever. The flowers will fade, the leaves will fall.
Many people collect and press a piece of spring in a journal, but I want to share with you another method of preserving the leaves and flowers that are blooming all around you and the science behind it.
In this edition of the Science Corner, we will be exploring how to hammer press some of the flowers and leaves that are flourishing in the vicinity of your home as well as why this method works. To complete this project you will need a 2’ by 2’ piece of 100% cotton or muslin, a hammer, tape, and newspaper.
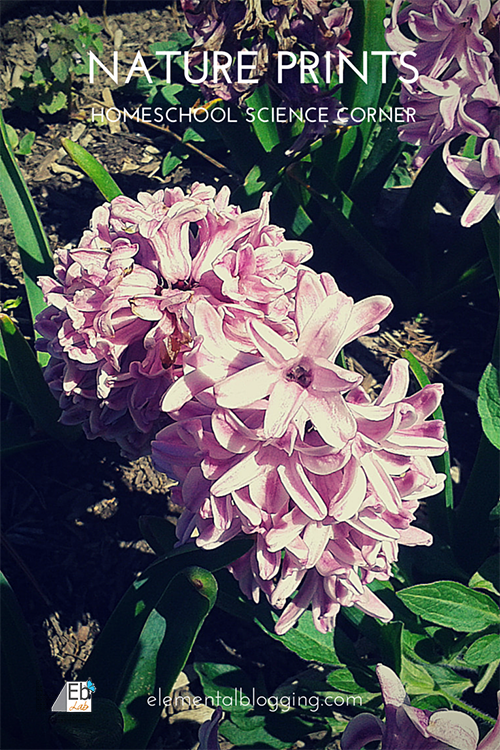
Nature Prints
Steps to Complete
- Begin by taking a walk outside. While on your walk, collect a few leaves or flowers that you find interesting or beautiful. (Note: Dead leaves or flowers won’t work as well because the pressed items need to be alive and full of water to best transfer their color.)
- Once you get home, take out the piece of fabric and arrange your leaves and flowers in the pattern you desire. Cover each of them completely with masking tape.
- Lay out several sheets of newspaper or a towel to protect the surface you are working on and then place your fabric tape & leaf side down on top of the newspaper.
- Adults Only: Use the hammer to pound over each of the leaves and flowers till they transfer their color and then set the fabric aside to dry. (Caution: Make certain than all fingers are clear of the hammer and that the surface you are using is one you don’t mind being indented as hammers can do damage.)
- Once your fabric is dry, removed the tape and used leaves or flowers. Then, you can mount your fabric square in a picture frame or hang it over a dowel rod to display.
Results
You should have seen that the same color and pattern on your leaf or flower transferred to your fabric. (Note: Do not wash the fabric or set it in full sun as the impressions will fade quickly.)
Explanation
Flowers and leaves are made up of thousands of tiny little blocks we call plant cells. Those cells have a very strong, rigid wall that keeps all of the contents inside. Inside each of the building blocks are chemicals called pigments that give the leaf or flower its color. When the foliage was hit with the hammer, the cell wall was broken and the interior pigments were released, leaving a perfect imprint of the leaf or flower. The reason you can see such detail is because each individual cell contains slightly different pigments to give the leaf or flower a rich depth of color.
Take It Further
This is a great time to read more about plant cells and animal cells in an encyclopedia. Take the time to discuss how the two types of cells are the same and how they differ. If you have access to a microscope, have your students look at both plant and animals cells so that they can see the differences first hand. (Note: If you don’t own a microscope you can google “plant cell microscope” to find images to view.)
Another way to expand this project is by identifying the trees and plants that your samples came from. I recommend that you check out a local flora guide from library and take it along with you for your walk. As you go along, take time at each tree to identify which species it is and learn a little more about the variety.


[…] on elementalblogging.com Share this:TwitterFacebookLike this:LikeBe the first to like this post. « World’s First […]