 There is nothing worse than opening up your guide to find out that today is experiment day and you don’t have the materials you need.
As I shared in 5 tips for experiment success, I keep a well-stocked science supplies cabinet to prevent these problems. But what if you don’t want to keep an entire cabinet full of science stuff?
What if you want just the supplies you need for that year on hand?
You could purchase a pre-made kit, but those can get expensive. So the other option is to just make your own.
Today, I wanted to share with you how to go about assembling your own experiment kit.
How to make your own Experiment Kits
Here are three simple steps for making your own experiment kit.
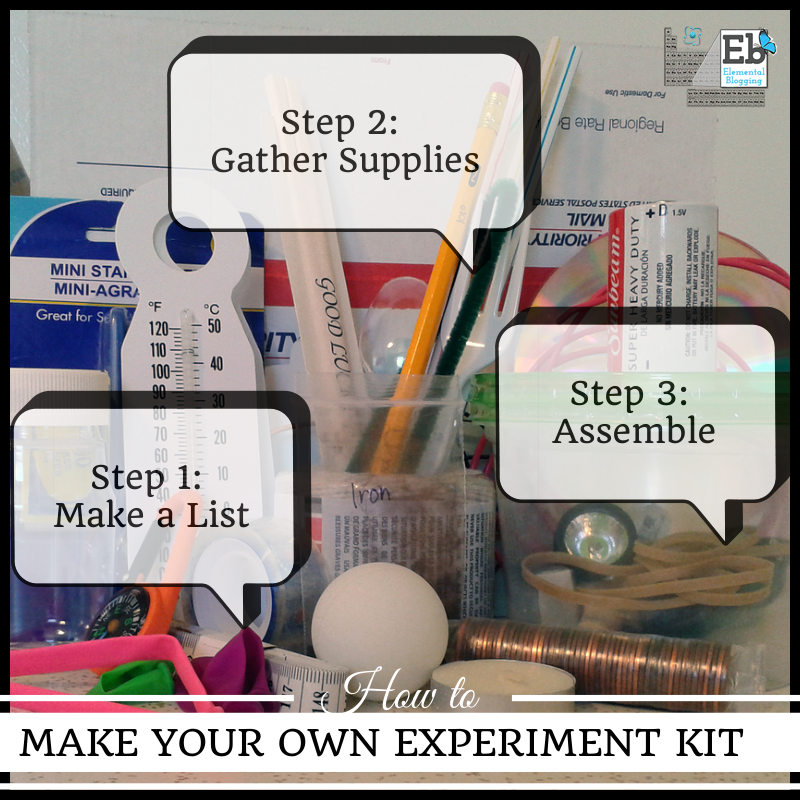
Step 1. Make a List
The first step in assembling your experiment kit is to write down all the supplies you will need for the year. Almost all science curriculum comes with a list of all the supplies you will need at the beginning of the guide. Simply go through the list, making a note of the supply, the quantity needed, and what week(s) it will be used.
You may find that some supplies are used in multiple weeks. If you can reuse it, make a note of that. If not, make sure you mark that you will need more than one of those.
Step 2. Gather the Supplies
After you have your list, go through it and determine what supplies you already have in your home. You can set these aside and cross them off your list.
Now you are ready to source the rest of the supplies. Here’s some of the places I like to look:
- Carolina Biological (There dissection kits and other science supplies are top notch, but shipping can be expensive if you only need a few items.)
- Dollar Tree or Wal-Mart (You would be surprised at what they have in there!)
- Amazon (Again, you would be surprised at what you can find on there, just watch out for shipping costs if you don’t have a prime membership.)
- Home Science Tools (They cater specifically to homeschoolers, so they have a lot of science supplies in small quantities.)
As you find the materials, cross them off the list and add them to your box.
{I do need to add a caveat here about obtaining chemicals for your own experiment kit. The problem with that is that many places offer them in such a large quantity that unless you have 20+ kids, it may not be worth the expense. So if you are trying to create a kit for upper level chemistry, you may want seriously think about investing in a pre-made one.}
Step 3. Assemble the Kit
Once, you have all your supplies gathered, you can simply leave them in the box for storage until use, or you can sort them by week. If you decide to do this, you will need enough plastic baggies for each week of your program.
Label the baggies with the week number and then fill it with the supplies you will need that week. Doing this will allow you experiment kit to be completely grab and go.
Wrap-up
This process is a bit labor intensive, which is why experiment kits tend to cost so much. However, if you put in the time and effort in one shot, you ‘ll have an experiment kit that will work for you all year long!


Hi Paige,
We just ordered Biology for the Logic Stage. Should I use the sample pages materials list by week to make an experiment kit? Are there any items on the list you know work better if they are a specific brand?
Thank you!
Lauren,
So sorry I missed this comment earlier! Yes, you can use the materials listed to help you make your own experiment kit. The only preference I have is for dissections samples from Carolina Biological – they seem to have the best packaging and information of the ones I have seen. Let me know if you have anymore questions!
~ Paige